In our pursuit of optimal performance and efficiency, it’s essential to pay attention to every detail, including the maintenance of your Whirlpool dryer vent. Neglecting this vital component can not only compromise the efficiency of your appliance but also pose serious safety risks to your home. In this comprehensive guide, we’ll delve into the importance of cleaning your Whirlpool dryer vent, the signs indicating it’s time for a clean, and the step-by-step process to ensure your dryer vent remains clear and functional.
Understanding the Importance
A clean dryer vent is crucial for several reasons. Firstly, it promotes optimal airflow within the dryer, allowing it to efficiently remove moisture from your clothes, resulting in faster drying times and reduced energy consumption. Secondly, a clear vent prevents lint and debris buildup, which can lead to overheating and even fires. By regularly cleaning your Whirlpool dryer vent, you not only ensure its longevity but also safeguard your home and loved ones from potential hazards.
Signs It’s Time for a Clean
Knowing when to clean your dryer vent is key to maintaining its performance and safety. Look out for the following signs, indicating that your Whirlpool dryer vent may be due for a clean:
- Longer Drying Times: If your clothes are taking longer than usual to dry, it could be a sign of restricted airflow caused by a clogged vent.
- Excessive Lint: Check the lint trap after each cycle. If you notice an excessive buildup of lint, your vent likely needs cleaning.
- Hot Exterior: If the exterior of your dryer feels unusually hot to the touch during operation, it could indicate poor airflow due to a blocked vent.
- Burning Smell: A burning smell emanating from your dryer is a serious warning sign of overheating, often caused by a clogged vent.
The Cleaning Process
Step 1: Gather Your Supplies
Before embarking on the cleaning process, it’s essential to gather all the necessary supplies to ensure a thorough job:
- Screwdriver: Opt for a screwdriver with a comfortable grip to facilitate easy handling.
- Vacuum with a narrow nozzle attachment: Choose a vacuum cleaner with a narrow attachment specifically designed for reaching into tight spaces, ensuring thorough suction of lint and debris.
- Dryer vent brush or cleaning kit: Invest in a high-quality vent brush or cleaning kit designed specifically for dryer vents. These tools are equipped with bristles or rods that effectively dislodge and remove stubborn buildup within the vent pipe.
Step 2: Unplug the Dryer
Safety should always be the top priority when performing any maintenance task on your appliances. Before commencing the cleaning process, ensure the dryer is completely disconnected from the power source to prevent any risk of electric shock or injury.
Step 3: Disconnect the Vent
Using the screwdriver, carefully loosen the clamp that secures the vent to the dryer. Take extra caution to avoid damaging the vent or surrounding components. Once the clamp is loosened, gently disconnect the vent from the dryer, ensuring minimal disturbance to the surrounding area.
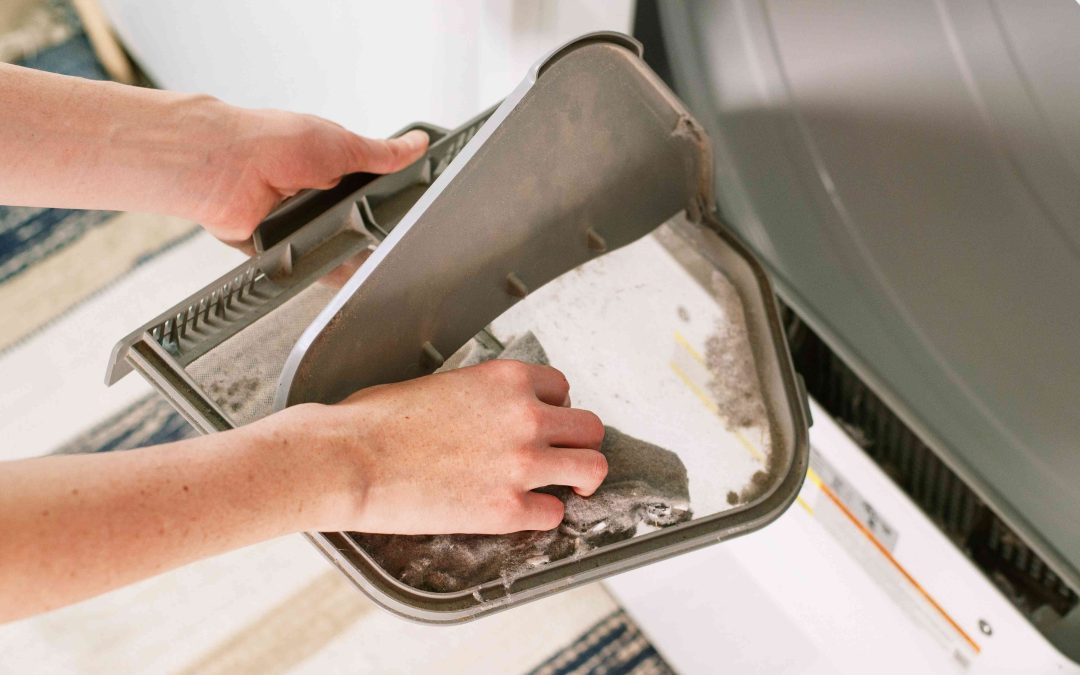
Step 4: Clean the Vent Pipe
This step involves using the designated vent brush or cleaning kit to thoroughly clean the vent pipe, ensuring the removal of accumulated lint and debris. Insert the brush or cleaning rod into the vent pipe and maneuver it carefully through the entire length of the duct. Apply gentle pressure to dislodge any buildup, periodically checking the progress and adjusting as necessary. Use the vacuum with the narrow nozzle attachment to suction out any loosened debris, ensuring a comprehensive cleaning of the vent pipe.
Step 5: Clean the Exterior Vent
Proceed to locate the exterior vent opening, typically located on the exterior wall of your home. Inspect the vent cover for any visible obstructions such as leaves, debris, or signs of buildup. Remove any obstacles using gloved hands or a suitable tool, taking care not to damage the vent cover. Utilize the vent brush or cleaning kit to remove any remaining buildup from the vent cover, ensuring unobstructed airflow.
Step 6: Reconnect and Test
With the vent pipe and exterior vent thoroughly cleaned, proceed to reconnect the vent to the dryer, ensuring a secure connection. Use the screwdriver to tighten the clamp, ensuring a snug fit that prevents air leaks. Once the vent is securely attached, plug the dryer back into the power source. Before resuming regular operation, run a test cycle to ensure the dryer functions correctly and efficiently. Monitor the drying process to verify improved airflow and reduced drying times, indicating a successful cleaning.
By following these enhanced steps, you can effectively maintain your Whirlpool dryer vent, promoting optimal performance, energy efficiency, and safety for your home and family.
Conclusion
Maintaining a clean Whirlpool dryer vent is essential for optimal performance, energy efficiency, and safety. By following the simple steps outlined in this guide, you can ensure that your dryer operates smoothly and safely for years to come. Remember to schedule regular vent cleanings to prevent buildup and mitigate potential hazards.
Frequently Asked Questions (FAQs)
- How often should I clean my Whirlpool dryer vent?
We recommend cleaning your dryer vent at least once a year to maintain optimal performance and safety.
- What are the signs of a clogged dryer vent?
Signs include longer drying times, excessive lint buildup, a hot exterior dryer surface, and a burning smell during operation.
- Can I clean my dryer vent myself?
While it’s possible, we recommend hiring professionals for thorough and safe vent cleaning to avoid potential hazards.
- Why is it important to clean the exterior vent?
Cleaning the exterior vent prevents airflow obstruction, ensuring efficient dryer operation and reducing fire risks.
- How can I schedule a vent cleaning service with Whirlpool Appliance Repair?
Contact us via phone or email to schedule a convenient appointment for professional vent cleaning services.
Ready to ensure your Whirlpool dryer operates at peak performance? Contact Whirlpool Appliance Repair today for expert Whirlpool dryer repair and maintenance services! Looking for more Whirlpool dryer tips? Check out our previous blog on “Dryer Drum Not Turning? Quick Whirlpool Dryer Repairs for Homeowners.”